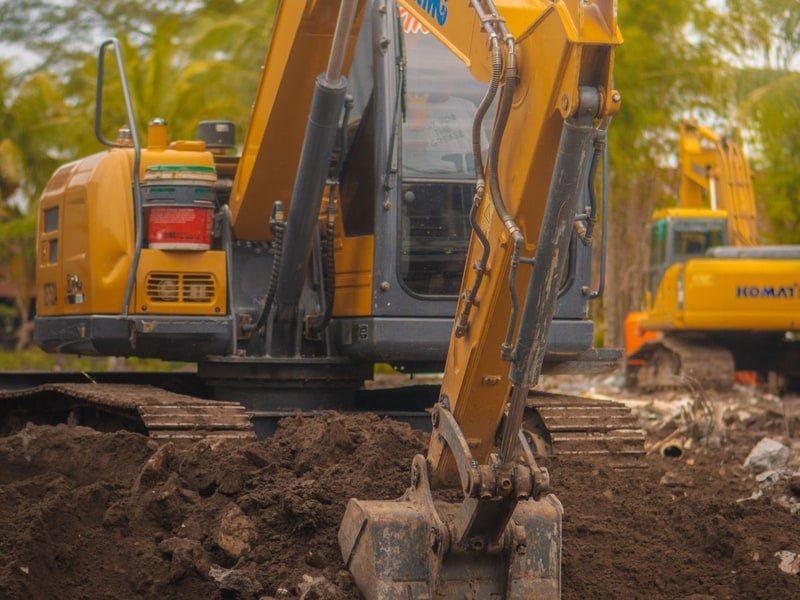
Mini Excavator Parts and Maintenance Guide
News 2026-09-19 40
Learn the main mini excavator parts, common wear items and a practical maintenance routine.
Used Mini Excavator Buying Guide: Hours and Inspection
News 2026-09-19 27
Learn how to inspect a used mini excavator, evaluate hours and avoid hidden undercarriage or hydraulic problems.

How to Drive a Mini Excavator: Beginner’s Guide
News 2026-09-19 24
News Home > News > How to Drive a Mini Excavator How to Drive a Mini Excavator: Beginner’s Guide News | September 18, 2026 Quick Answer: How to Drive a Mini Excavator Driving a mini excavator means controlling two tracks independently, keeping the bucket low, travelling at a safe speed and planning every turn before you move. Beginners should practise on firm, level ground with plenty of clearance. A compact excavator is not steered like a car. Forward and reverse travel, counter-rotation and pivoting are controlled with two joysticks or travel levers, so smooth, small inputs matter more than speed. First rule: keep the bucket low, the load stable and bystanders outside the turning and swing radius. Practise track control, braking and turning on level ground before working near walls or trenches. Understand the Travel Controls Most mini excavators use two travel levers or joystick-mounted travel pedals. Pushing both controls forward moves the machine forward. Pulling both back reverses it. Moving one track forward while the other stays still turns the machine, while opposite inputs counter-rotate it. Track direction depends on whether the controls are mounted in front of or behind the operator. Always check the machine manual and test the controls at low engine speed before entering a confined area. How to Move Smoothly 01 Sit fully in the seat with the seatbelt fastened and the controls within reach. 02 Lower the bucket to just above ground level and bring the boom into a stable position. 03 Select low travel speed and check the path for holes, slopes, pipes and people. 04 Move both tracks with equal pressure for straight travel. 05 Ease the controls back to neutral to stop instead of making abrupt changes. 06 Look in the direction of travel and use a spotter when visibility is limited. Turning, Pivoting and Working on Slopes To turn, slow down first and make a gentle track correction. Tight counter-rotation can damage turf and may be unsafe on soft ground. When working beside a trench, keep the machine on stable ground and avoid travelling with the bucket raised. On slopes, follow the manufacturer guidance, keep the bucket low and avoid turning across the slope. If the machine begins to slide, stop and reposition instead of forcing the turn. Common Beginner Mistakes Common mistakes include travelling too fast, dragging the bucket, turning with the boom raised, working close to an unsupported…
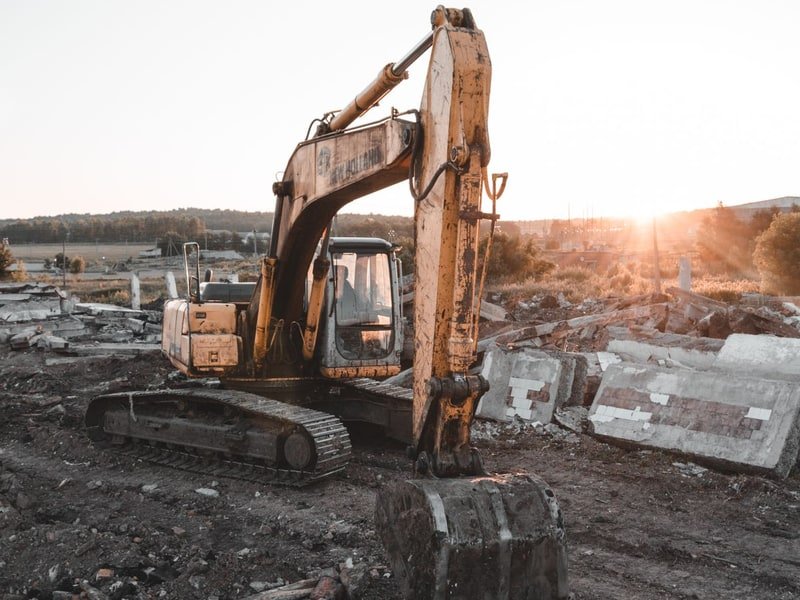
How to Use a Mini Excavator: Controls and First Tasks
News 2026-09-19 25
News Home > News > How to Use a Mini Excavator How to Use a Mini Excavator: Controls and First Tasks News | September 18, 2026 Quick Answer: How to Use a Mini Excavator To use a mini excavator, complete the pre-start checks, set the machine on firm ground, learn the two joystick controls and practise travel, digging, lifting and dumping with small movements. Keep the bucket close to the machine and never exceed the machine’s rated limits. A mini excavator is most efficient when the operator plans the digging sequence, positions the tracks correctly and uses the bucket and boom together instead of forcing the machine through the soil. Beginner focus: smooth control, safe positioning and consistent depth matter more than fast cycle times. Start with easy digging and level grading before moving to confined areas or lifting tasks. Get Familiar with the Controls The left joystick usually controls boom and bucket movement, while the right joystick controls arm and swing. Travel controls may be foot pedals or levers. Pattern-control machines can use different layouts, so confirm the control pattern before operating. Pilot controls use low-pressure hydraulic signals to move the main valves. A well-maintained joystick should respond smoothly without excessive free play or sudden movement. Your First Five Tasks 01 Walk around the machine and check tracks, hoses, pins and fluid leaks. 02 Start the engine, warm the hydraulics and test the controls at low speed. 03 Practise straight travel, gentle turns and stopping on level ground. 04 Dig a shallow test trench and keep the bucket moving in controlled passes. 05 Level the spoil with the back of the bucket and finish with a safe shutdown. Digging and Dumping Technique Position the machine so the bucket reaches the trench without overextending the arm. Curl the bucket as you lift, swing slowly over the spoil pile and release the material without dropping the boom. Keep the tracks parallel to the trench where possible for a stable digging position. Do not use the bucket as a battering ram or swing the load into the spoil pile. For deeper work, review our mini excavator digging depth guide and match the machine to the required reach. Safety and Machine Care Lock the controls before leaving the seat, lower the bucket and switch off the engine before inspection. Check hydraulic hoses, grease points, track tension and engine fluids regularly. A small leak…

What Are Pilot Controls on a Mini Excavator?
News 2026-09-19 18
News Home > News > Mini Excavator Pilot Controls What Are Pilot Controls on a Mini Excavator? News | September 18, 2026 Quick Answer: What Are Pilot Controls? Pilot controls are hydraulic joystick controls that use a small pilot pressure signal to operate the main hydraulic valves. They give mini excavator operators smooth, low-effort control of the boom, arm, bucket and swing. Pilot-controlled machines are common on modern compact excavators because they reduce operator fatigue and allow precise movement. The control pattern and joystick function must be confirmed before use. Remember: pilot controls change how the machine is controlled, not how much the machine can safely lift or dig. How Pilot Controls Work When the operator moves a joystick, a small amount of hydraulic oil is directed to a pilot valve. That pressure shifts the main control valve spool, which sends oil to the boom, arm, bucket or swing motor. The joystick itself does not carry the full working flow. Because the joystick movement is light, the operator can feather the controls and make small corrections. This is useful for trenching, grading, placing pipes and working close to walls. Control Typical Function Operator Benefit Left joystick Boom and bucket Precise digging and bucket curl Right joystick Arm and swing Controlled reach and spoil placement Travel controls Left and right track Independent steering and turning Pilot joysticks provide light, precise control of the main hydraulic functions. Pilot Controls vs Mechanical Controls Mechanical control levers are connected directly to the valve and can feel heavier or less precise. Pilot controls use hydraulic pressure to move the valve, which usually produces smoother response and less effort. Many mini excavators also allow the joystick pattern to be changed. Confirm the pattern every time you use a different machine, especially if you are familiar with another brand. Pilot Control Maintenance Checks 01 Check for hydraulic leaks around joysticks, pilot lines and fittings. 02 Confirm the joysticks return to neutral when released. 03 Check for excessive free play, vibration or delayed response. 04 Inspect pilot pressure only with the correct gauge and procedure. 05 Keep the cab, pedals and joystick boots clean and free from debris. Frequently Asked Questions Are pilot controls better than mechanical controls? Pilot controls are generally smoother and require less effort, but the best choice depends on the machine, operator preference and maintenance condition. Can pilot control patterns be changed? Some machines…

How to Start a Mini Excavator Safely
News 2026-09-19 21
News Home > News > How to Start a Mini Excavator How to Start a Mini Excavator Safely News | September 18, 2026 Quick Answer: How to Start a Mini Excavator To start a mini excavator, complete a walk-around inspection, sit in the operator seat, fasten the seatbelt, place the controls in neutral and the safety lock in the correct position, then turn the key or press the start button and allow the engine to warm up. Never bypass a safety lock, start the machine from outside the cab or operate a machine with a fuel, hydraulic or electrical fault. If the engine does not start normally, stop and investigate instead of repeatedly cranking it. Before starting: check the tracks, bucket, pins, hoses, fuel level, engine oil and coolant. Complete the walk-around and control checks before starting the engine. Pre-Start Checks 01 Walk around the machine and look for leaks, loose pins and damaged hoses. 02 Check engine oil, coolant, fuel and hydraulic oil levels. 03 Inspect track tension and remove debris from the undercarriage. 04 Confirm the bucket and attachment are secure. 05 Make sure the area around the machine is clear of people and obstacles. Starting Procedure Sit in the operator seat, fasten the seatbelt and place the controls in neutral. Confirm the safety lock or control lock is in the starting position specified by the manufacturer. Turn the key or press the start button and release it as soon as the engine starts. Allow the engine to idle and warm up. Test the hydraulic controls at low speed and check that the joysticks return to neutral. Do not operate the machine until the instruments and warning lights are normal. Common Starting Problems Hard starting may be caused by a weak battery, contaminated fuel, a clogged filter, air in the fuel system, a faulty stop solenoid or cold-weather fuel issues. Diesel engines may need glow-plug time in cold conditions. If the engine cranks but does not start, check the fuel and electrical system according to the manual. Repeated long cranking can damage the starter and drain the battery. Shutdown and Daily Care Park on firm, level ground, lower the bucket and blade, reduce engine speed and allow the machine to idle briefly before shutdown. Lock the controls, remove the key and inspect the machine for leaks or damage. Regular maintenance keeps starting reliable. Review our mini excavator parts…
How Deep Can a Mini Excavator Dig? Depth by Size
News 2026-09-19 38
News Home > News > Mini Excavator Digging Depth How Deep Can a Mini Excavator Dig? Depth by Size News | September 19, 2026 | Updated October 14, 2026 Quick Answer A mini excavator’s maximum digging depth depends on its boom, arm and bucket geometry. Qisheng’s current catalog lists 1,760 mm for the QS-12 series, 2,100 mm for the QS-18 series and 2,600 mm for the QS-25 series. These are model specifications, not depth ranges that apply to every machine in the same tonnage class. Choose a machine that reaches the required excavation at the position where it must work. A maximum-depth figure alone does not show how far from the tracks the bucket can reach that depth. QS-18 catalog product illustration. Digging Depth: Three Actual Catalog Examples The following values are from Qisheng’s October 9, 2026 catalog. Basic and PRO versions share the listed depth within each of these series. Catalog series Maximum digging depth Maximum dumping height QS-12 1,760 mm 1,825 mm QS-18 2,100 mm 2,100 mm QS-25 2,600 mm 2,700 mm Digging depth and dumping height answer different questions. The first concerns excavation below the machine; the second helps assess whether the bucket can discharge into the intended vehicle or container. Neither replaces the working-range drawing. If an excavation must reach 2,200 mm, the QS-18’s listed 2,100 mm maximum is insufficient. The QS-25 clears that initial depth requirement, but its reach, working position and access still need checking. Adding a larger bucket does not establish a new maximum digging depth. Calculate the Excavation Depth the Job Actually Requires A drainage pipe’s required cover is not the same as the depth of the trench bottom. The excavation may also need to accommodate the pipe’s outside diameter and bedding beneath it. For an illustrative design, assume 1,000 mm of cover above a 110 mm outside-diameter pipe, plus 100 mm of bedding below it. The resulting excavation depth is 1,000 + 110 + 100 = 1,210 mm. These are assumed design inputs, not installation requirements for every drainage system. Use the project’s drawings and specified levels for the real calculation. If the trench slopes, identify the deepest required point. A machine selected from the shallow end of the route may be unable to complete the far end. Check Reach and Working Space Alongside Depth Ask for the working-range diagram for the exact arm and bucket configuration. Locate the planned excavation…
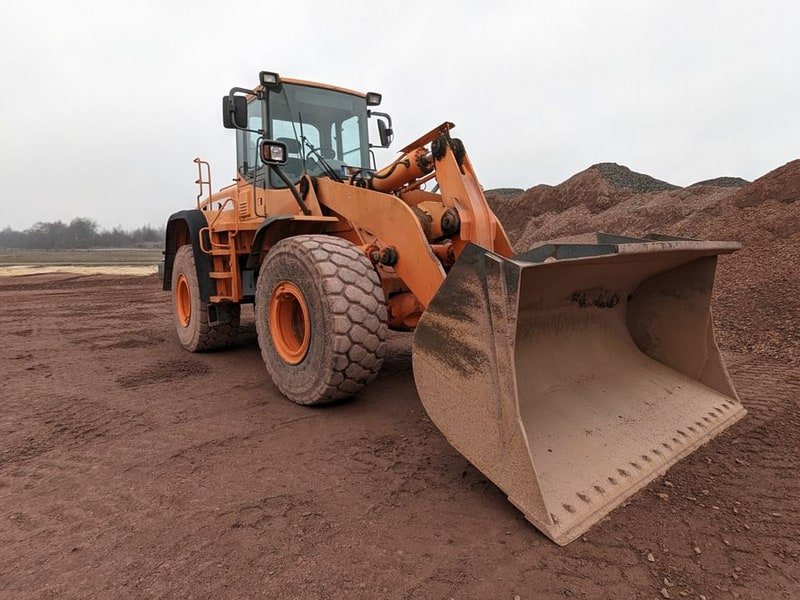
How to Put a Track Back on a Mini Excavator
News 2026-09-19 63
How to put a mini excavator track back on, including safe support, track tension, alignment, replacement and preventive maintenance.
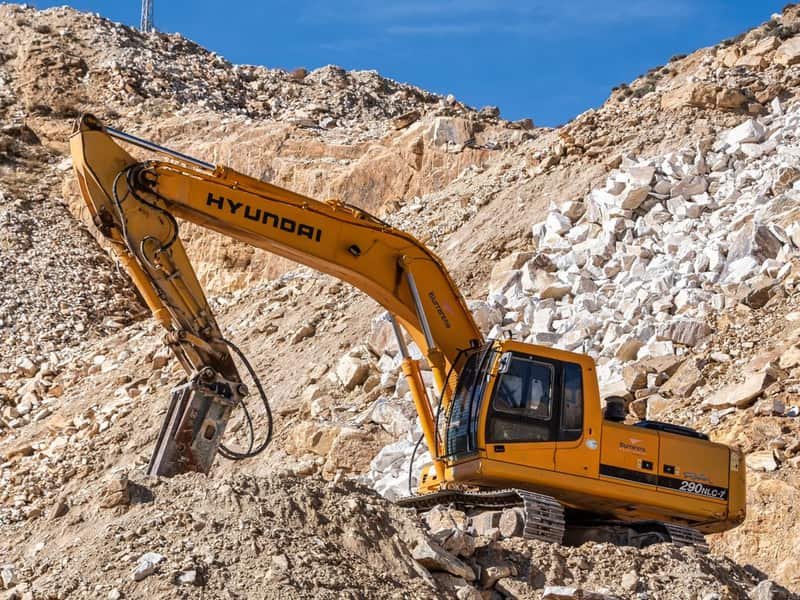
How Much Can a Mini Excavator Lift? Capacity by Size and Reach
News 2026-09-19 35
Learn how much a mini excavator can lift by size, reach and track position, plus lift capacity charts, safety limits and machine selection tips.
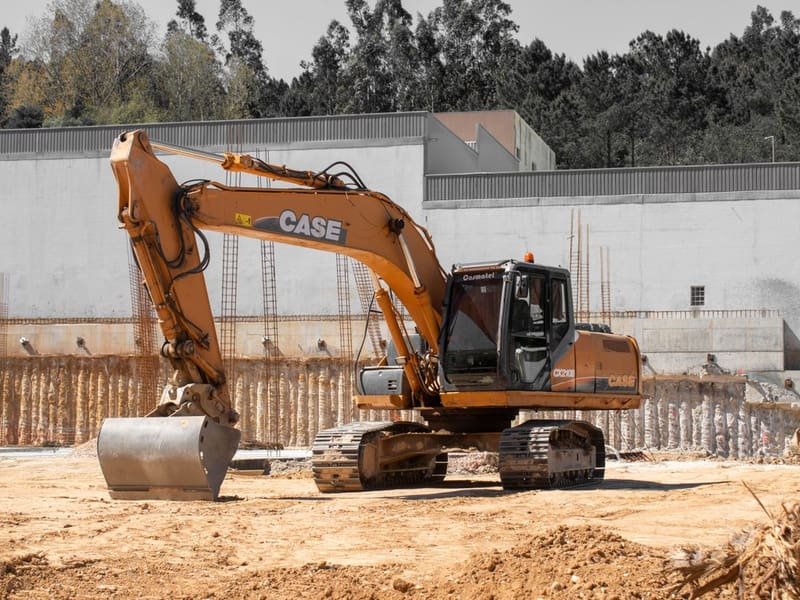
Mini Excavator Sizes: What Size Mini Excavator Do You Need?
News 2026-09-19 273
Compare mini excavator sizes and weights from 1 to 2.5 tons. See which size fits tight access, digging, lifting and residential projects.
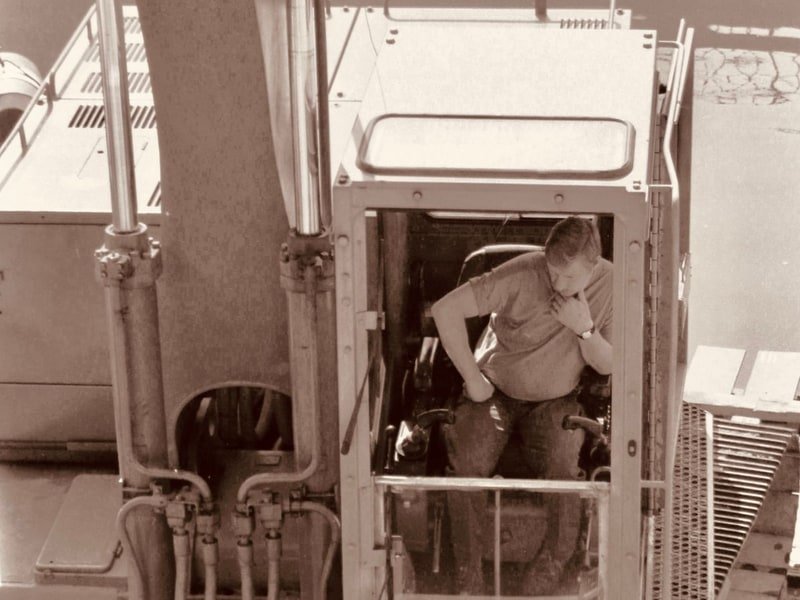
How Wide Is a Mini Excavator? Complete Width, Access and Transport Guide
News 2026-09-18 58
Compare mini excavator widths by size, check gate and access clearance, and learn how to plan trailer size, transport width and safe loading.
How Much Does It Cost to Rent a Mini Excavator? Daily, Weekly and Monthly Rates
News 2026-09-18 45
Compare mini excavator rental costs by day, week and month, understand the extra charges that affect the final invoice, and decide whether renting or buying is more cost-effective.