How to Install a Thumb on a Mini Excavator
Qisheng Machinery · Updated October 16, 2026
Quick Answer
To decide how to install a thumb on a mini excavator, identify the exact thumb kit, its mounting design and the machine/bucket combination first. Installation then follows the approved drawings: prepare and support the equipment, check the proposed fit, complete the specified mounting and hydraulic work, and verify clearances and retention before handover.
A mechanical thumb and a hydraulic thumb need different equipment. A main-pin design and a stick-mounted bracket also require different installation arrangements. There is no universal weld location, pin length, shim clearance or hydraulic setting for every mini excavator.
Identify the Kit Before Dismantling Anything
Collect the carrier model and serial number, bucket and coupler details, and thumb model with its drawing revision. Confirm whether the kit replaces a main pivot pin, uses an existing approved bracket or requires a specified weld-on mount. Obtain the actual parts schedule and instructions for that arrangement.
| Installation question | Information needed | Do not assume |
|---|---|---|
| Which mounting design? | Main-pin, stick-mount or other approved kit drawing | Similar-looking thumbs use the same bracket position |
| Which bucket and coupler? | Actual bucket geometry, tooth arrangement and coupler configuration | A thumb sized by machine class meshes with every bucket |
| What mounting hardware? | Pins, retainers, bushes, shims and fasteners specified for the kit | Existing pins or loose spacers are suitable substitutes |
| Does it need welding? | Machine-maker authorization and kit-specific welding instructions | Any flat area on the stick is an acceptable mounting point |
| What hydraulic functions? | Correct circuit, controls and protection for that thumb | A spare hose connector establishes a suitable circuit |
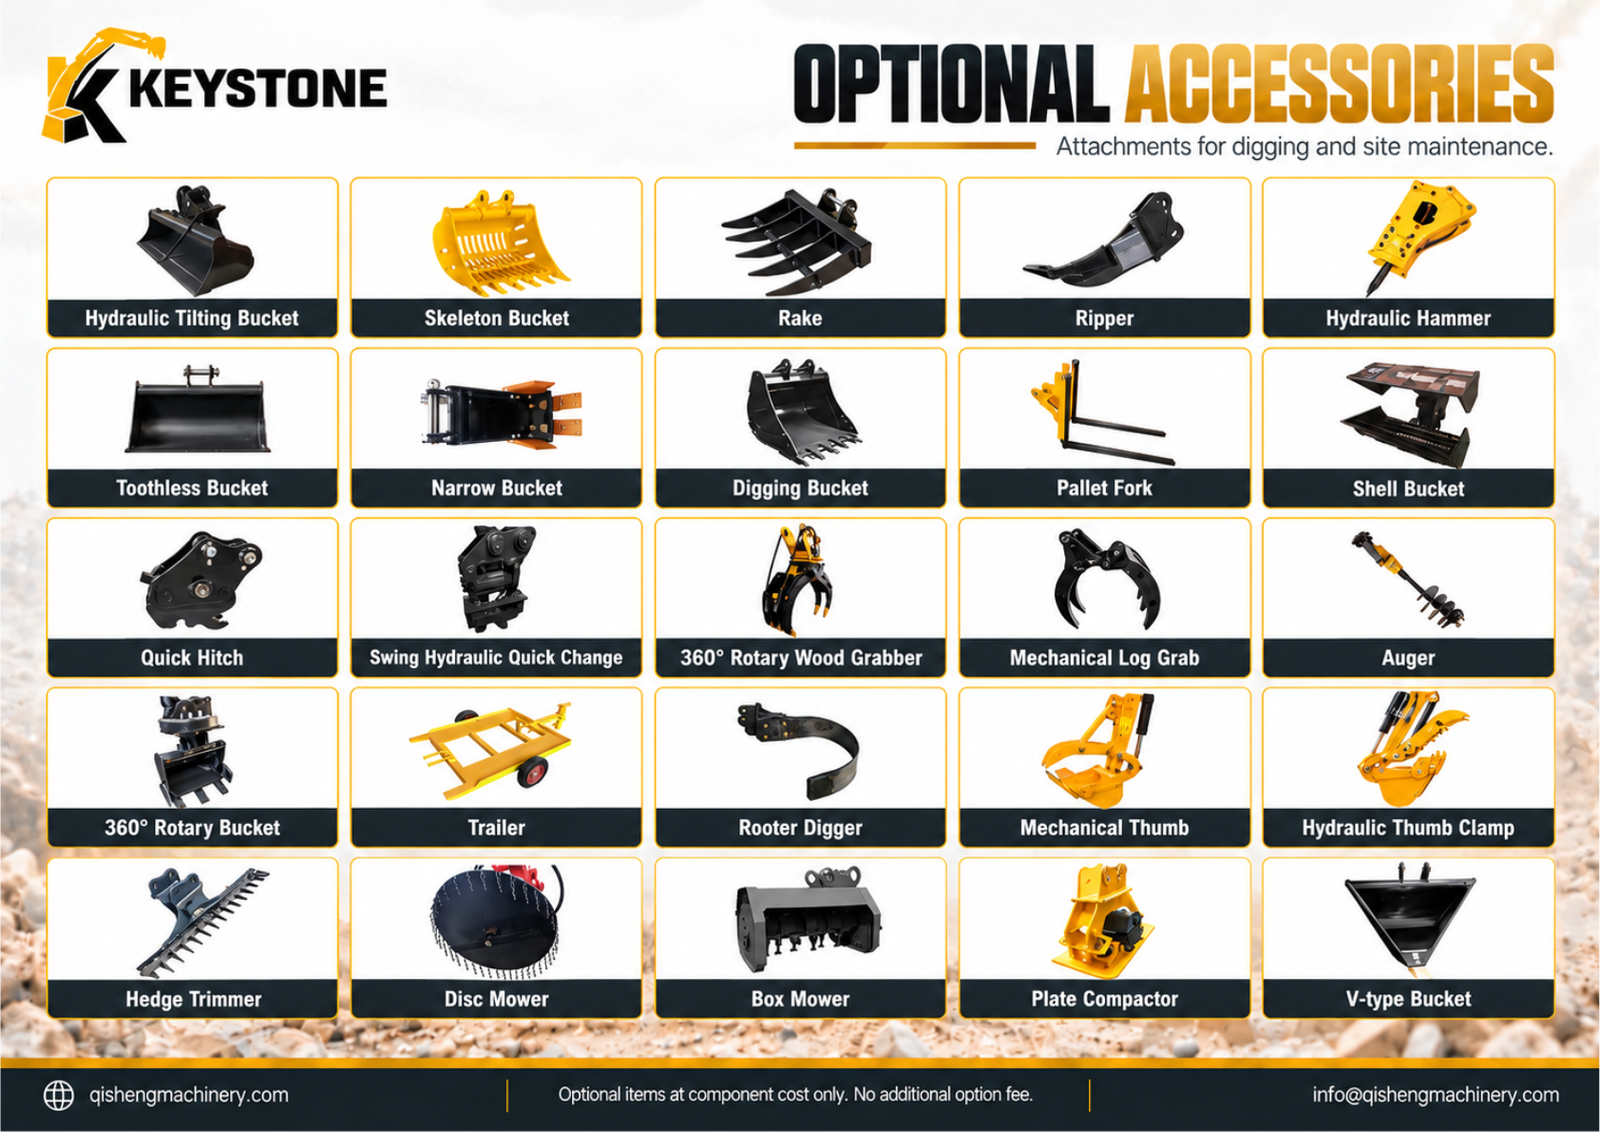
Qisheng's accessory catalogue shows mechanical and hydraulic thumb options. It does not provide a QS installation drawing or approve a particular kit on every QS model. Request those details before ordering installation work.
Prepare, Support and Check the Proposed Fit
Have a competent installer establish the machine's prescribed shutdown, isolation, stored-pressure and support arrangements. The arm, bucket, thumb and any removed components must remain supported as required throughout the work. Hydraulic pressure alone is not a support method.
Work from the kit drawing to identify the pivot, cylinder or rigid support, brackets and retention hardware. Check the condition of the interfaces before assembly. Stop if the supplied parts do not correspond to the drawing; forcing a pin or substituting a different fastener does not confirm fit.
For a weld-on arrangement, the preliminary fit and clearance check must follow the maker's method. Do not improvise a temporary support or move an unsecured assembly to imitate an installation video.
Check Clearance Before Final Fixing
The Werk-Brau EZG manual, particularly printed pages 11 and 14, provides a manufacturer-specific example. It calls for checking movement and interference before final welding, including possible contact involving the bucket/thumb, boom and cylinder rod. Those checks belong to that design; its welding dimensions, pressure values and shim limits are not QS specifications.
Ask the installer to check the complete approved motion range, including the stowed position, with the actual bucket and coupler. A combination can look correct at one bucket angle and interfere elsewhere. Changing the bucket or adding a coupler later can require a new geometry review.
If interference appears, obtain the kit manufacturer's approved solution. Do not trim tines, relocate a bracket or change cylinder travel solely from a generic article or another brand's diagram.
Complete the Mount and Hydraulic Commissioning
Complete mechanical fixing using the exact drawing, authorized welding procedure where applicable, specified hardware and tightening requirements. Retention and any lubrication paths must remain accessible and correctly assembled. Record the installed parts and adjustments.
A hydraulic thumb also needs the correct control and protection arrangement. Have the hydraulic technician confirm the applicable flow, pressure/relief requirements, hose routing and behavior when the bucket and thumb interact. Settings copied from an unrelated attachment can damage the assembly.
During the manufacturer's prescribed commissioning test, check hose movement, contact points, retention, stowage and leaks. Keep personnel clear of moving equipment; never use a hand to find a pressurized leak. Stop for unintended movement or interference and resolve it before working with material.
Frequently Asked Questions
Can I install a thumb without welding?
Some designs use an approved pin-on or existing bracket arrangement. Others require welding. The machine and kit drawings determine which method applies.
Will the thumb match every bucket I own?
Not necessarily. Check each proposed bucket/coupler combination. Werk-Brau's separate stick-mounted thumb manual, printed page 2, expressly distinguishes its class-based design from one made to mesh with specific bucket teeth.
What should the installer hand over?
The applicable instructions, installed component identities, settings and inspection records, plus any restrictions on buckets or operating arrangements. Include the maintenance tasks and approved stowed position.
Related Guides and Machine Options
Review bucket compatibility and the QS mini excavator range when checking the proposed carrier setup.
Confirm the Thumb Arrangement
Send Qisheng Machinery the carrier, bucket and coupler details, with the thumb kit reference if available. Request the matching drawing and installation scope before scheduling the work.